
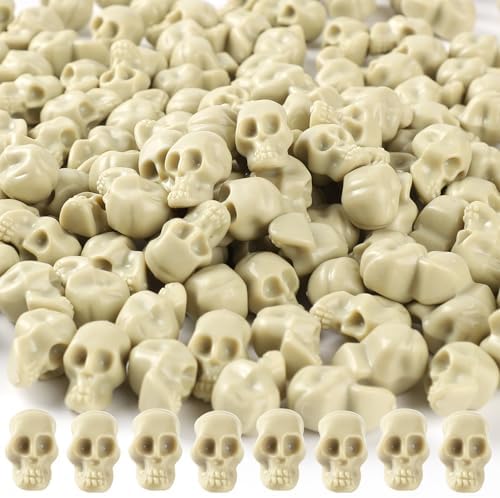
Creating your own DIY plastic skull mask is not only a fun and creative project but also a fantastic way to express your individuality, especially during festive occasions like Halloween or themed parties. In this article, we will guide you through the process of designing, crafting, and finishing your very own skull mask using plastic materials. We will cover necessary tools, techniques, and provide tips on how to make your design stand out.
Understanding the Basics of Mask Making
Before diving into the actual creation process, it’s essential to understand the fundamentals of mask making. Masks can be made from various materials, but plastic offers durability and versatility, making it a fantastic choice for DIY projects.
Types of Plastic Used in Mask Making

When it comes to crafting a skull mask, several types of plastic can be utilized:
- Polyethylene (PE): Lightweight and flexible, ideal for creating molds.
- Polypropylene (PP): More durable and resistant to chemicals, suitable for intricate designs.
- Vinyl: Soft and pliable, often used for decorative elements.
- ABS Plastic: Known for its strength and impact resistance, great for structural integrity.
Tools and Materials Needed
To create your skull mask, you’ll need specific tools and materials. It’s best to gather everything in advance to streamline your crafting process.
Essential Tools
- Scissors or a craft knife
- Heat gun (for shaping plastics)
- Paintbrushes and sponges
- Mixing containers (for paints and adhesives)
- Safety goggles and gloves (for protection)
Materials
- Plastic sheets (choose based on your design preference)
- Masking tape
- Hot glue gun and glue sticks
- Acrylic paints (in various colors)
- Decorative elements (like feathers, jewels, or glitter)
Designing Your Skull Mask
The design phase is where creativity shines. Sketching out your ideas will help you visualize the final product and determine the materials you’ll need.
Choosing a Style
Skull masks can range from realistic to abstract. Here are a few styles to consider:
- Classic Day of the Dead: Colorful designs with floral patterns.
- Gothic: Dark and intricate details, often including spikes or other embellishments.
- Cartoonish: Exaggerated features and bright colors for a playful approach.
Sketching Your Design
Begin by sketching your ideas on paper. Consider the following tips:
- Use grid paper to maintain proportions.
- Experiment with different elements, such as eye shapes and jawline styles.
- Incorporate personal touches, like initials or symbols that have meaning to you.
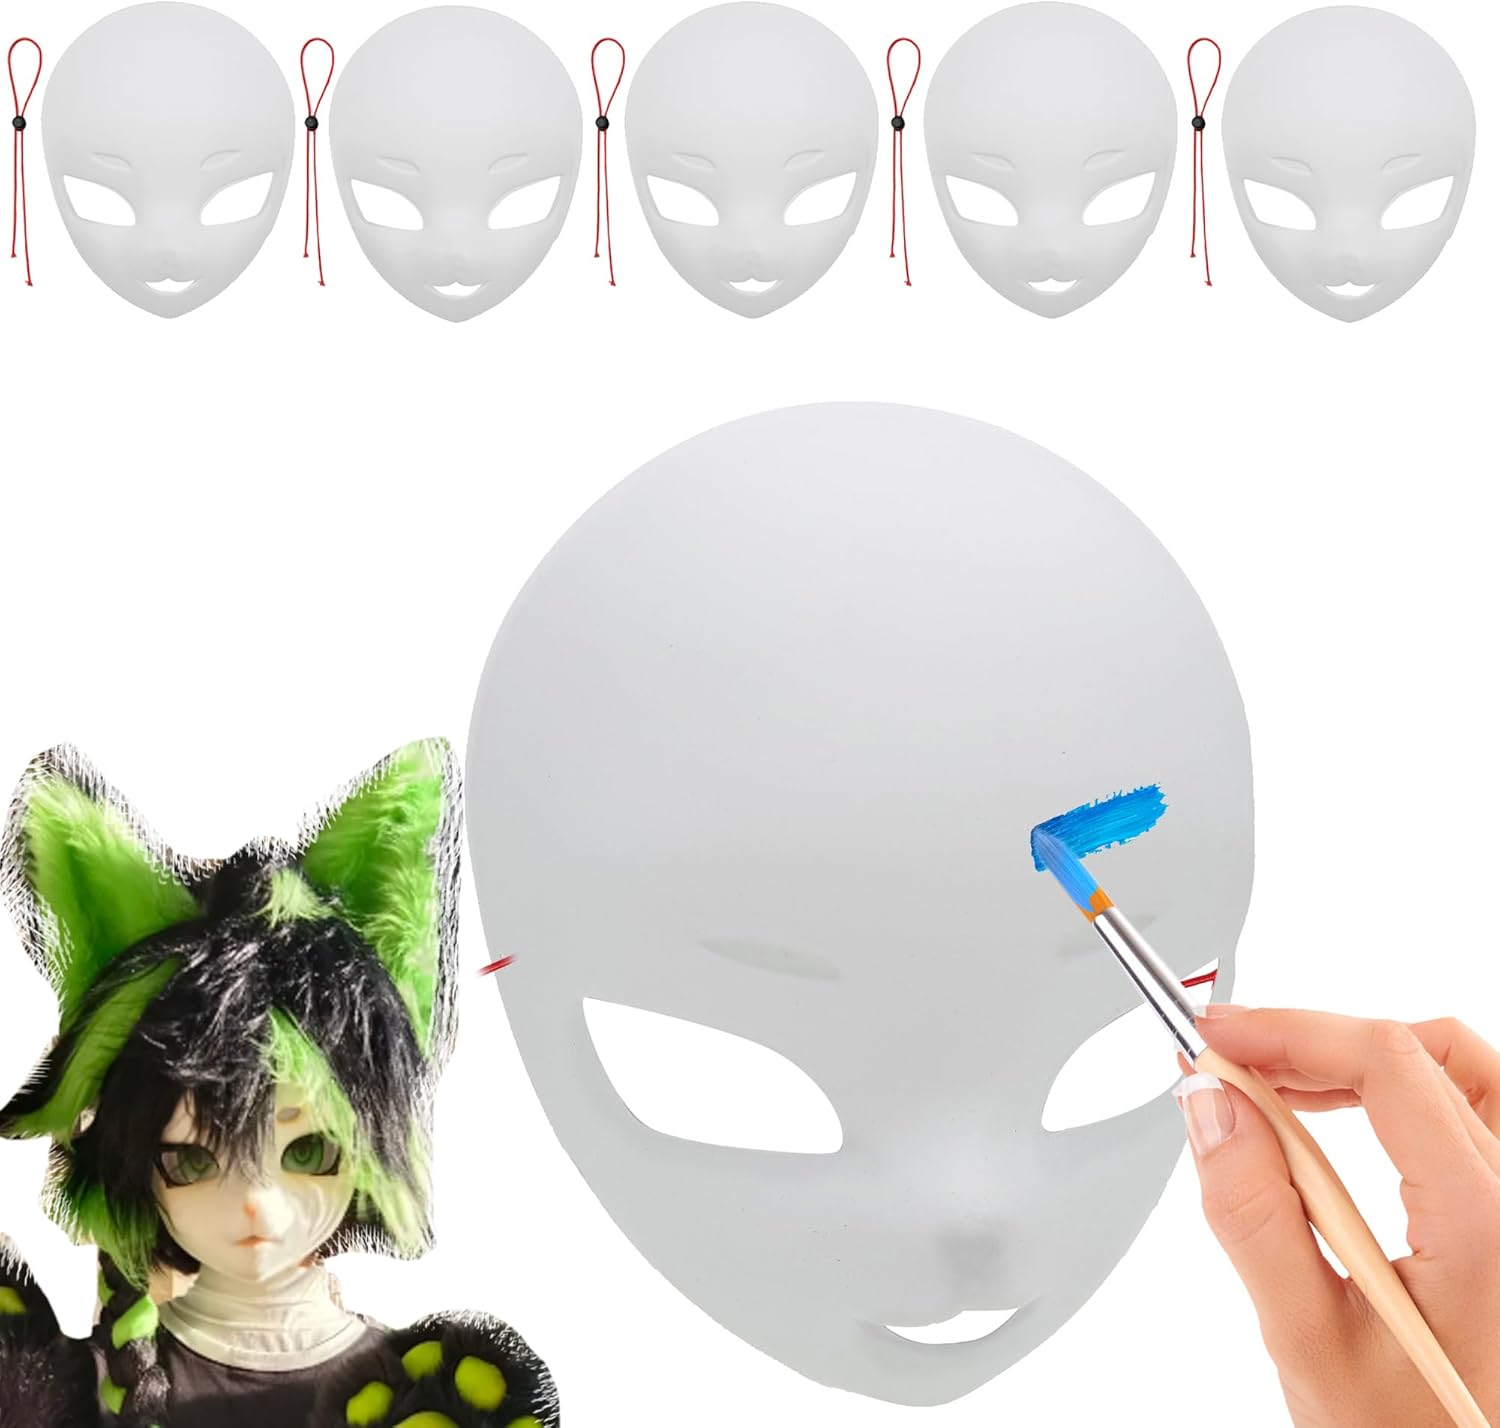
Creating the Skull Mask
Now that you have your design ready, it’s time to bring it to life. Follow these steps for a successful mask-making experience.
Step 1: Preparing the Plastic
Start by cutting the plastic sheets according to your design. If you’re using a mold, heat the plastic with a heat gun until it becomes pliable.
Step 2: Shaping the Mask

Using your hands or a mold, shape the heated plastic into the form of a skull. Be cautious when handling hot plastic. Once shaped, let it cool and harden.
Step 3: Adding Details
At this stage, you can add intricate details to your mask:
- Use a craft knife to carve out features like eye sockets and nasal passages.
- Glue on additional elements for texture, such as fake teeth or decorative embellishments.
- Consider layering different colors of plastic for a more dynamic look.
Step 4: Painting Your Skull Mask
Once your mask is shaped and detailed, it’s time to paint. Choose colors that match your theme:
- Black and white for a classic skull look.
- Bright colors for a festive Day of the Dead mask.
- Metallic paints for a more futuristic or gothic style.
Apply the paint using brushes or sponges, allowing each layer to dry before adding more details or colors.
Step 5: Final Touches
After the paint has dried, add any final decorative elements, such as:
- Glitter or rhinestones for sparkle.
- Feathers or fabric for texture and movement.
- Straps or elastic bands for securing the mask to your head.
Tips for a Unique Skull Mask
To make your skull mask truly unique, consider these additional tips:
- Incorporate personal symbols or motifs that resonate with you.
- Experiment with layering techniques using different colors and materials.
- Look for inspiration in other cultures’ designs, like African masks or Asian traditions.
Case Study: Successful Skull Mask Designs

Many artists and DIY enthusiasts have created stunning skull masks that have gained popularity through social media platforms. For instance, a well-known artist named Kristina Webb uses her background in fine arts to create detailed, personalized skull masks, combining traditional designs with modern elements. Her work has inspired countless others to explore their creativity.
Creating your own DIY plastic skull mask can be an enjoyable and rewarding experience. By understanding the materials, tools, and techniques involved, you can craft a mask that reflects your unique style and creativity. Whether you aim for a classic look or a more modern interpretation, the possibilities are endless. Remember to experiment, have fun, and let your artistic flair shine through. With patience and practice, you will undoubtedly create a skull mask that stands out and impresses all who see it.